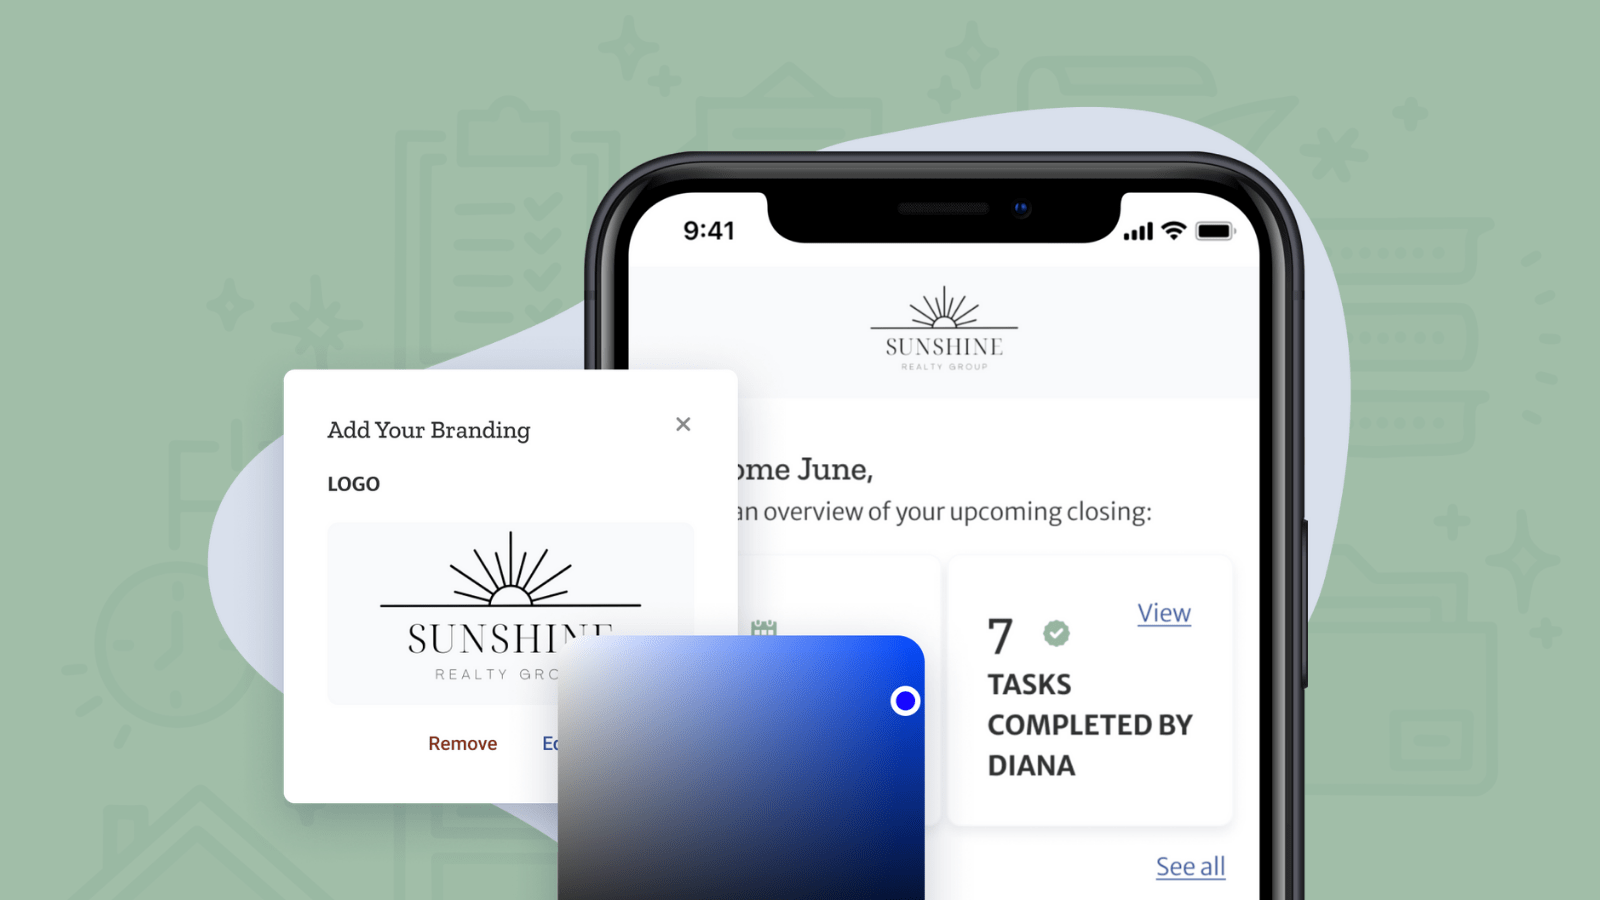
Did you know you can customize your ListedKit portal with a logo and background color? Now you can quickly and easily add your own design assets to match the look and feel of your brand.
After saving changes, your new custom visual design elements will also be reflected in your clients’ portal and emails from ListedKit – for a seamless client experience.
Learn how to white label your transaction workspace to reflect your business in three easy steps.
How to White Label ListedKit
Step 1: Upload Your Logo
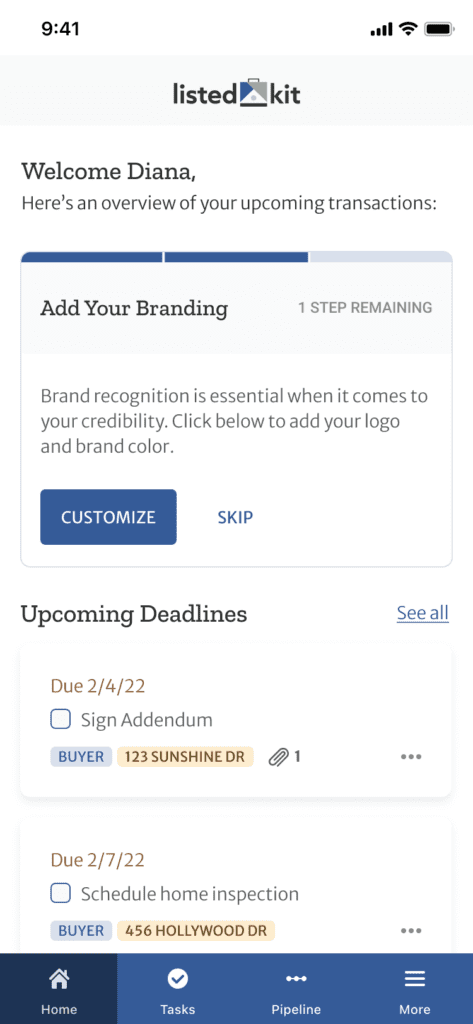
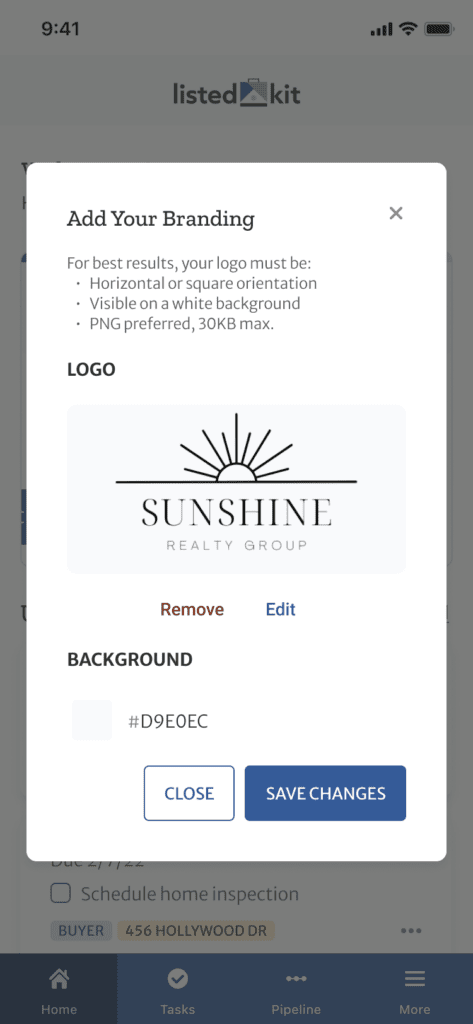
From the home screen during account setup, click Customize in the “add your branding” dialogue box. For an existing ListedKit account, navigate to Settings from the menu.
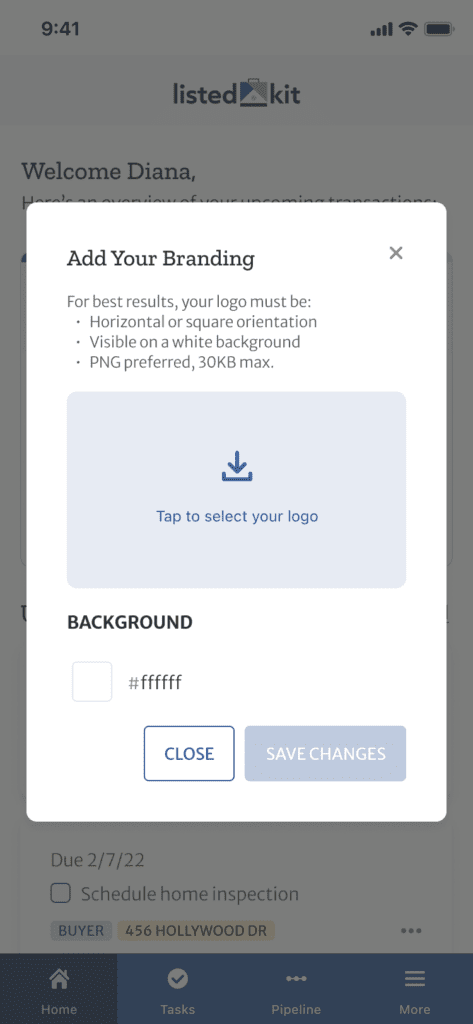
In the “branding controls” window, click Tap to select your logo. From there you will be able to select a PNG file from your device’s local storage.
Once you’ve opened your logo file, use the Horizontal and Square options to crop your image, and the slider to zoom in or out as needed.
Step 2: Choose a Background Color
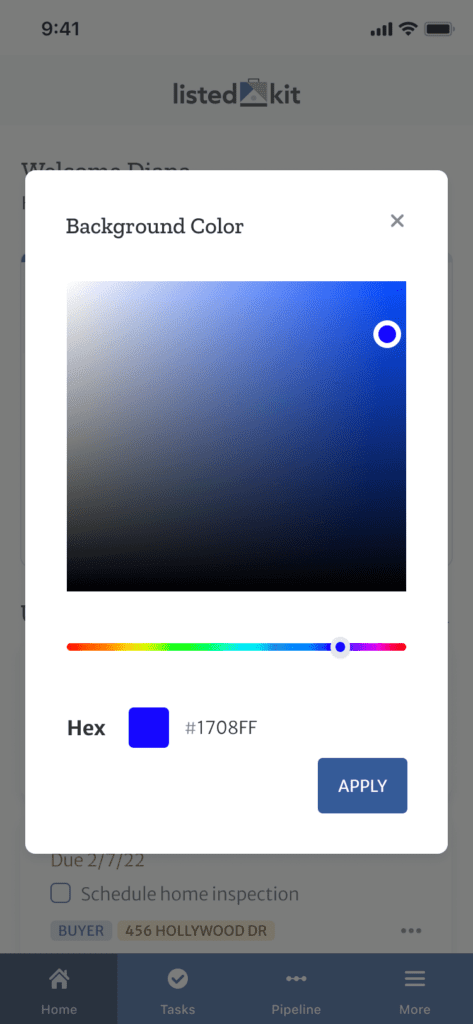
In the same window, click the color preview box next to the six-character color code to open the color selector. Use the color slider and saturation selector to choose a background color.
If you have a specific brand color and know the hex code, you can enter it next to the color preview box.
Step 3: Save Your Changes
Be sure to click Save Changes before closing the branding controls window. You can make changes to any of your custom brand elements in Settings at any time.
Wrapping Up
At ListedKit, we’re always making updates so our tools work the best for your needs. Now, customize your ListedKit portal with your brand elements in a few easy steps.

