TC Workflow Automation Guide: From Intake to Closing
How do the TCs handling 40+ files a month keep everything straight without working twice as hard?
It's not superhuman memory. It's not working 80-hour weeks. It's automating the right parts of their workflow, the five phases that eat the most time: contract intake, task management, communication, compliance, and closing coordination. The TCs who've figured out transaction coordinator workflow automation aren't cutting corners. They're cutting busywork.
This guide maps the complete TC workflow from intake to closing, shows you exactly what to automate at each phase, and links to deep-dive guides where you can dig into the specifics. Think of it as your automation blueprint. The overview that connects all the pieces so you can stop stitching together random tools and start building a system that actually scales.
And the timing matters. NAR projects home sales to jump 14% in 2026, which means more transactions hitting your desk. The TCs who've already automated their workflows will absorb that volume. The ones still doing everything manually? They'll be scrambling.
What TC Workflow Automation Actually Means (And What It Doesn't)
Let's clear something up first. Transaction coordinator workflow automation doesn't mean handing your entire process over to software and hoping for the best. It means identifying the repetitive, time-consuming steps in your workflow and letting technology handle those, so you can focus on the parts that actually need your brain.
There's a big difference between simple automation and AI. Basic automation follows rigid rules: if X happens, do Y. Set up a template, click a button, same output every time. AI goes further. It reads documents, understands context, adapts to your process, and gets smarter the more you use it.
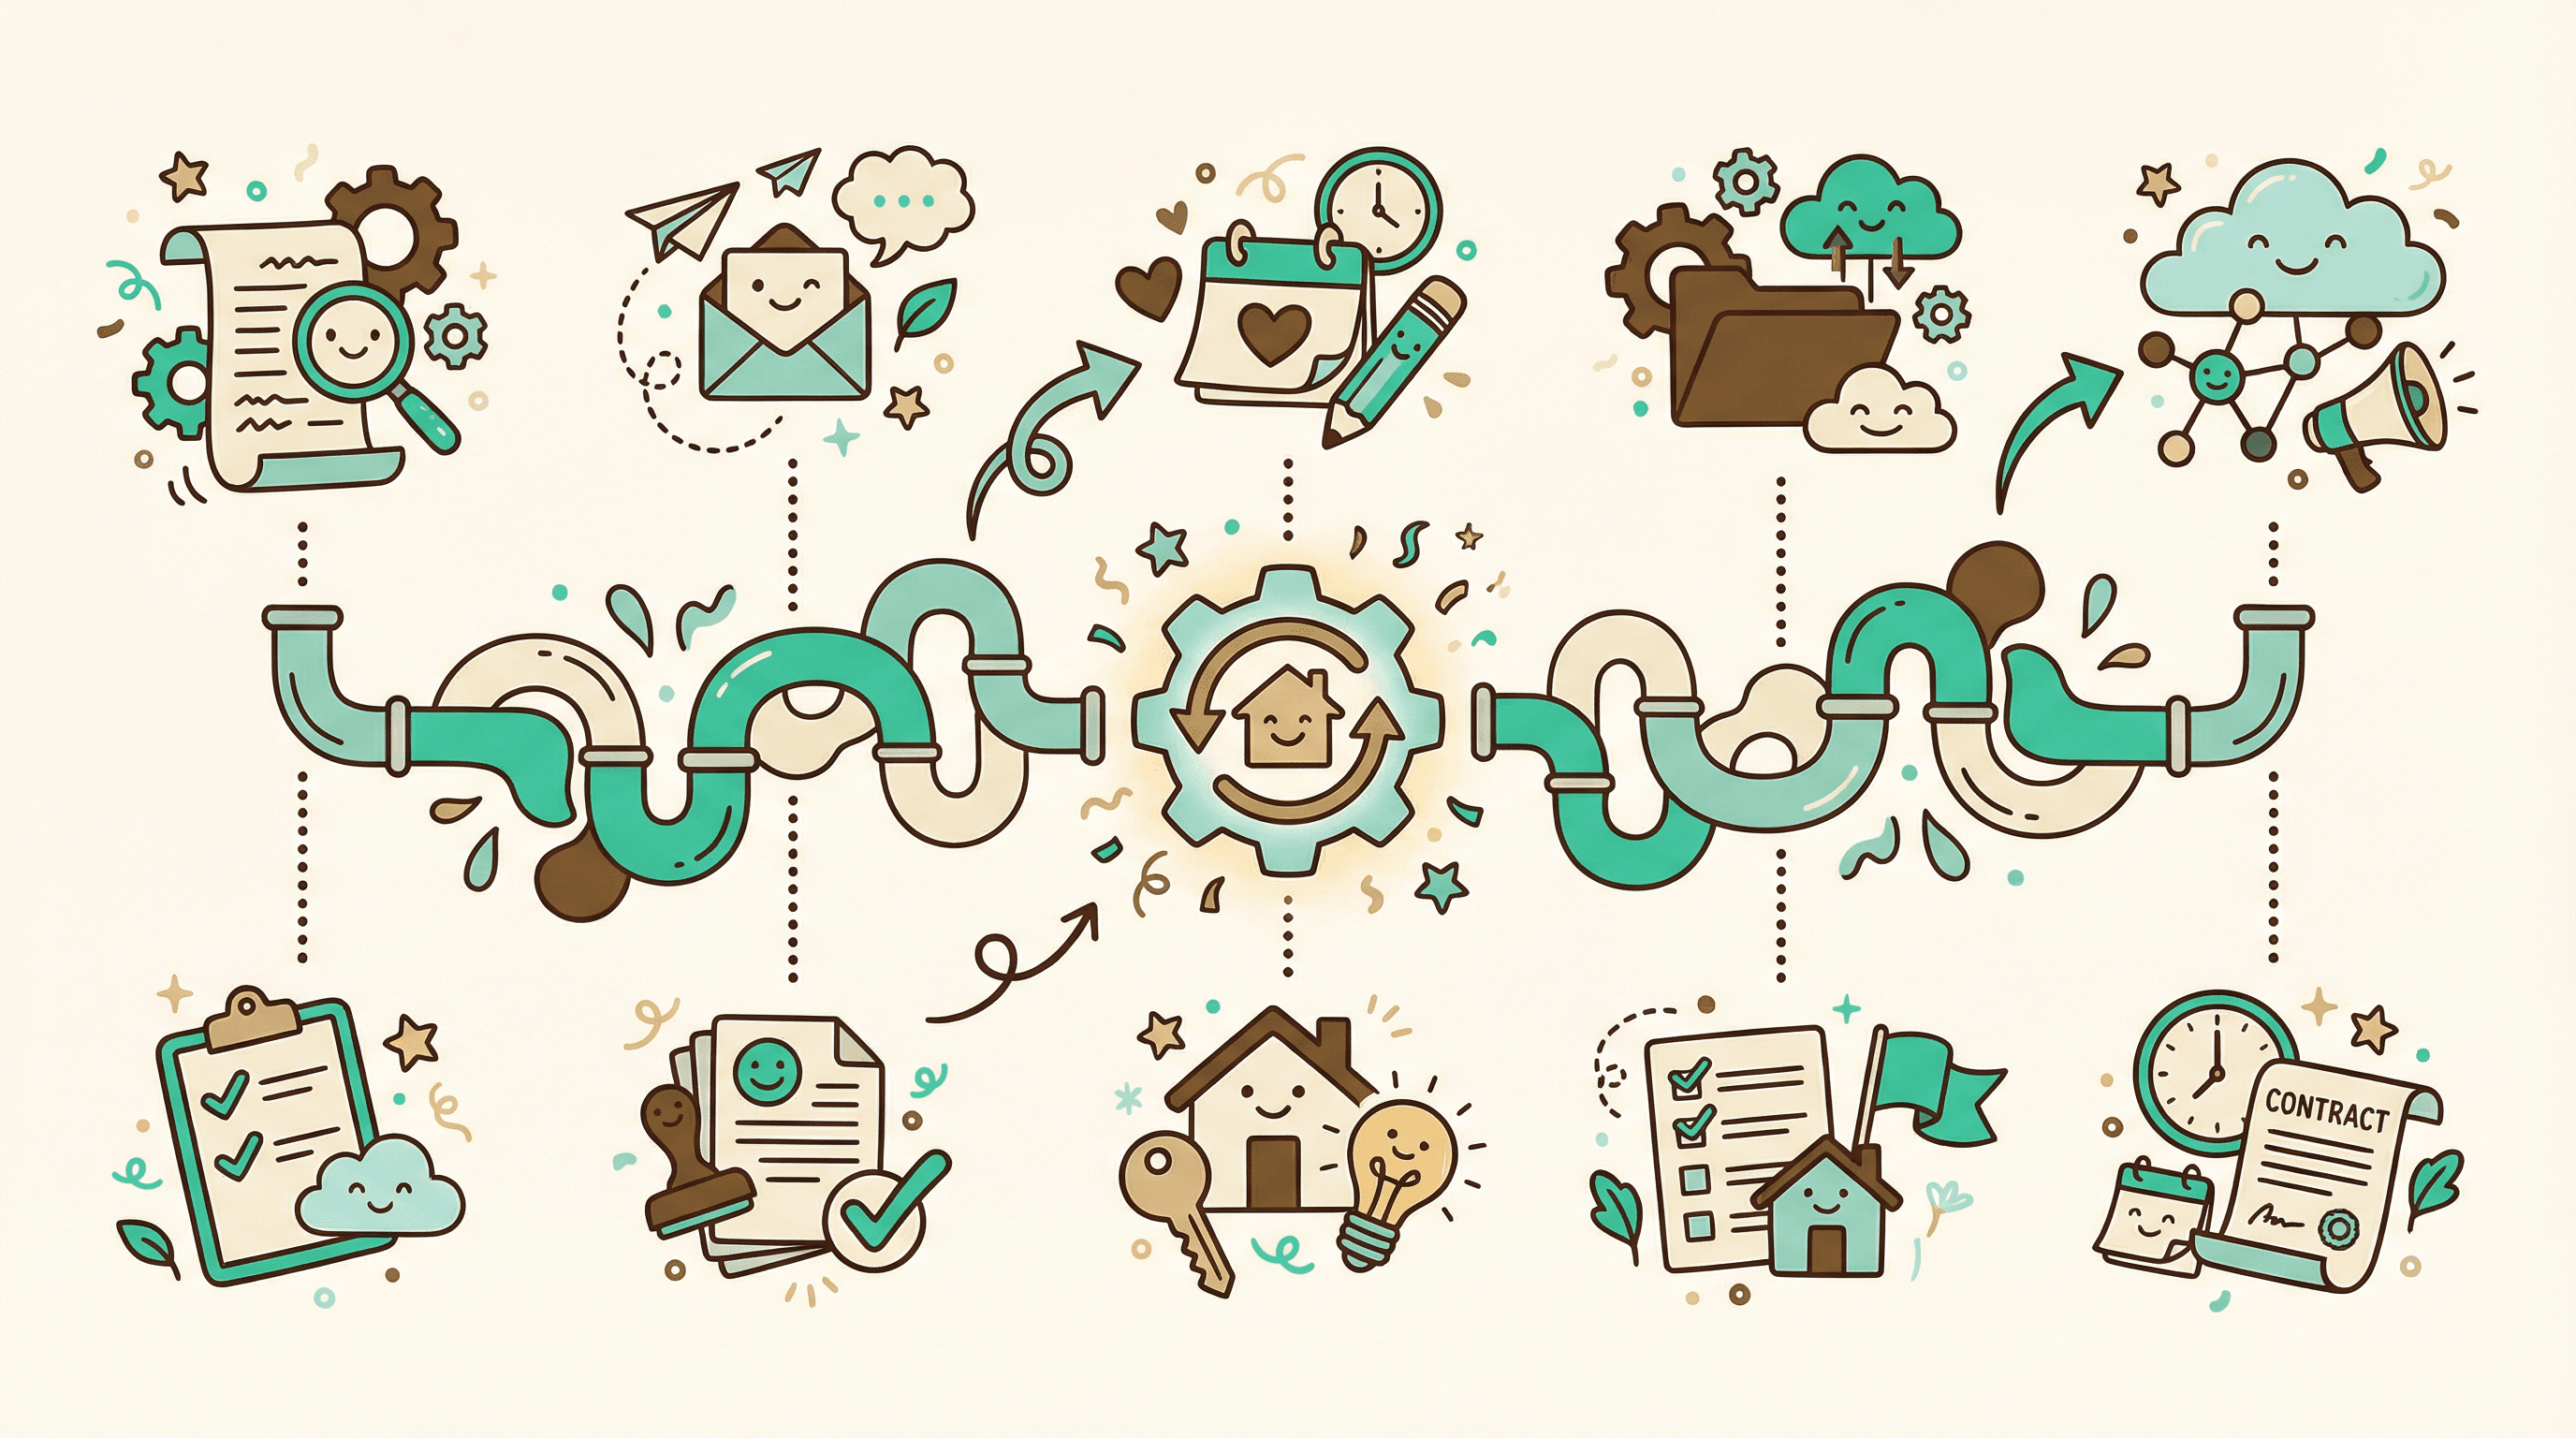
Here's how the five phases of a TC workflow break down:
- Contract Intake - Reading the contract, extracting key data, building the timeline
- Task & Deadline Management - Creating checklists, tracking deadlines, calculating business days
- Communication - Drafting emails, sending updates, coordinating with parties
- Compliance - Checking documents for errors, missing signatures, data mismatches
- Closing Coordination - Syncing calendars, managing the final push, wrapping up the file
The magic happens when all five phases connect. Most TCs cobble together a spreadsheet here, a template there, maybe a task management app on the side. That works at 10 files. At 30? You're spending more time managing your tools than managing your transactions.
Here's a stat that puts this in perspective: according to NAR's 2025 Technology Survey, 68% of real estate professionals are already using AI tools, and two-thirds say their primary motivation for adopting tech is to save time. The industry is moving fast. But most of that adoption is happening one tool at a time, not as a connected workflow.
Now here's the important part: not everything should be automated. Document review decisions, client relationship calls, escalation judgment calls, these need you. The goal isn't to remove yourself from the process. It's to remove the grunt work so you can show up for the moments that matter.

Phase 1: Automating Contract Intake
Contract intake is where every transaction begins, and it's where most TCs lose the most time. You get a new contract, flip through 15-30 pages (sometimes handwritten), and start manually keying in buyer names, seller names, property address, purchase price, closing date, earnest money amount, contingency periods, and a dozen other data points.
That process takes 20-30 minutes per contract. According to AgentUp's research, roughly 20 hours per deal go toward paperwork and administrative tasks alone, with a standard closing generating 150 to 200 pages of documents. And if there are counteroffers? You're chasing logic across multiple documents trying to figure out which terms are actually final. Miss a revised closing date buried in Addendum 3 and you've just built your entire timeline on the wrong foundation.
This is the single highest-ROI place to automate your workflow.
With AI contract reading, you upload the contract and the system extracts everything in under 60 seconds. Dates, parties, property info, financials, contingency periods, all of it. It handles handwritten contracts with the same accuracy as typed ones. It follows the logic across counteroffers to find the final agreed terms. And it works with any state's purchase agreement, no pre-setup required.
When you upload a California PRDS or a Texas TREC 1-4, Ava reads the entire document, pulls out every key detail, and builds your timeline automatically. That 30 minutes of manual data entry drops to about 60 seconds of review. Multiply that across 30 files a month and you've just reclaimed 15 hours.
For a deeper look at how AI handles contract intake and what to watch for, check out our guide on AI contract review.
Phase 2: Automating Task and Deadline Management
Here's where things get interesting. A typical real estate transaction involves roughly 198 individual tasks from contract to close. Inspections, appraisals, title work, document requests, contingency removals, final walk-throughs, the list goes on. Missing even one can delay closing or, worse, kill the deal entirely.
Most TCs manage this with some version of a checklist. Maybe it's a spreadsheet, maybe it's a project management tool, maybe it's a legal pad (no judgment). The problem isn't the checklist itself. It's that building and maintaining it for every single transaction is incredibly time-consuming.
The automation opportunity here is twofold: generating the checklist automatically and tracking deadlines intelligently.
Checklist automation means your system already knows your process. When a new transaction comes in, it generates the right checklist based on the state, brokerage requirements, and transaction type (buyer, seller, cash, financed, new construction). You're not starting from scratch every time. You're reviewing and adjusting a pre-built list that matches 90% of what you need.
Deadline tracking is where AI really shines. The tricky part about real estate deadlines isn't just remembering them. It's calculating them correctly. "7 business days from acceptance" sounds simple until you factor in weekends, holidays, and the fact that different states define "business days" differently. One miscalculation and your client misses an inspection contingency.
Ava handles this by reading the contract dates and automatically calculating all derivative deadlines, including those tricky "X business days before closing" timelines that trip up even experienced TCs. When a closing date changes (and it always does), every connected deadline updates automatically. No manual recalculation.
She also remembers your process. If you always add a "verify earnest money receipt" task on Day 2, Ava learns that pattern and applies it to future transactions. Your workflow gets smarter over time without you having to rebuild it.
Want the full breakdown on automating your checklists? Read our deep dive: How to Automate Your TC Checklist (Without Losing Your Process). For deadline-specific strategies, see: How to Automate Real Estate Deadlines (So You Never Miscalculate Again).
Phase 3: Automating Communication
You know the emails. The congratulations email after acceptance. The "here's your timeline" email to both agents. The "we still need the HOA docs" follow-up for the third time. The closing reminder a week out. You've written each of these hundreds of times, and they're mostly the same with a few details swapped out.
Communication is one of the biggest time sinks in a TC's day, not because any single email takes long, but because there are so many of them. A typical transaction involves 30-50 emails. Across 20 files, that's 600-1,000 emails a month. Even at 3 minutes each, you're looking at 30-50 hours just on email.
Here's what smart communication automation looks like for TCs:
Email templates with smart placeholders let you write your best version of each email once, then reuse it with client names, dates, and deal details automatically filled in. No more copy-paste-edit-oops-I-left-the-wrong-client-name-in cycles.
AI-drafted emails go a step further. Instead of rigid templates, you give a quick prompt, something like "congrats, share the timeline, keep it friendly," and the AI drafts a polished, professional email using the actual transaction details. It knows the buyer's name, the closing date, the property address, and weaves them in naturally.
The key differentiator worth paying attention to: where do the emails send from? With Ava, emails go directly from your Gmail or Outlook. No AI branding, no weird sender addresses. Your clients see your name, your email, your signature. Nobody knows an AI helped draft it.
You can also bulk-share timelines and coordinate with all parties in one step, instead of sending individual emails to the buyer's agent, seller's agent, title company, and lender separately. One action, everyone's looped in.
For a deeper look at email templates and AI-powered drafting, explore the email automation feature.
Phase 4: Automating Compliance Checks
This is the phase that keeps TCs up at night. Not because compliance is boring (though it can be), but because a single missed signature or data mismatch can delay closing by days or even weeks. And who gets the call when something slips through? You do.
Traditional compliance checking means manually reviewing every page of every document, comparing names and dates across files, and hoping you catch the initial that's missing on page 12. It's tedious, error-prone, and it doesn't scale. At 10 files, you can be meticulous. At 30, something's going to slip.
The stakes are real. Research from The Warren Group found that human error rates in data entry hover around 1-4%, and the cost of an uncorrected error follows the "1:10:100 rule": preventing it costs $1, correcting it costs $10, and leaving it uncorrected costs $100. In real estate, that "uncorrected" scenario can mean a delayed closing, an angry client, or a compliance violation.
Automated compliance checking acts as a second set of eyes on every document. Here's what that looks like in practice:
Missing signature detection. The AI scans uploaded documents and flags pages where signatures or initials are required but missing. That signature box on page 12 of the addendum that you'd normally catch (or not) during a late-night review? Flagged automatically.
Information mismatch alerts. When a new document comes in, the system compares it against existing transaction data. If the closing date in the lender's commitment letter doesn't match the closing date in the purchase agreement, you hear about it immediately, not three days before closing when the title company catches it.
Missing document tracking. A one-stop view shows document status across all your transactions: missing, has issues, or fully executed. Instead of mentally tracking which files need what, you open one dashboard and see exactly where every transaction stands.
Ava's compliance check catches the three types of errors that cause the most closing delays: missing signatures, missing information that needs to be filled in, and data mismatches between documents. Think of it as a safety net that runs every time a document is uploaded, catching problems early before they compound.
Curious about the specific types of compliance issues and how to prevent them? Read the full guide: How to Catch Compliance Issues Before Your Broker Does.
Phase 5: Automating Closing Coordination
The final stretch. You've got 3-7 days before settlement, multiple parties who all need to be in the right place at the right time, and a pile of pre-closing tasks that need to happen in sequence. Final walk-through scheduled? Closing disclosure reviewed? Utility transfers coordinated? Buyer's funds confirmed?
This phase is less about automating individual tasks and more about automating the coordination between them. Two things make the biggest difference:
Calendar automation. Instead of manually creating calendar events for every deadline, inspection, and closing date across every transaction, one-click calendar sync pushes the entire transaction timeline to Google Calendar or Outlook Calendar. Every party gets invited to the relevant events. When dates change, the calendar updates automatically.
Managing timelines across 15-20 active files in one unified dashboard means you're never hunting through individual transaction folders to figure out what's closing this week. You see everything in one view: what needs attention today, what's coming up, and what's at risk.
Document finalization automation. As you approach closing, the document tracking from Phase 4 becomes critical. You can see at a glance which transactions have all their documents in order and which ones are still waiting on that final HOA estoppel letter or updated commitment letter.
For the complete document tracking workflow, check out: How to Automate Document Collection in Real Estate.
Why Connected Automation Beats Stitched-Together Tools
Here's the thing most TC workflow automation advice gets wrong: they tell you to pick the best tool for each phase. Best contract reader here, best task manager there, best email tool over there. Before you know it, you're managing five different logins, copy-pasting data between systems, and spending more time on tool management than transaction management.
The real power of workflow automation comes when all five phases talk to each other. When the contract reading feeds directly into the task list. When the task list drives the email reminders. When the calendar syncs with the deadline tracker. When the compliance checker references the original contract data.
That's what Ava does differently. She's not a point solution for one phase. She connects contract intake to task management to communication to compliance to closing coordination, all in one system. Upload a contract and the entire downstream workflow spins up automatically: timeline built, tasks generated, deadlines calculated, parties identified, calendar ready to sync.
For TCs scaling from 15 files to 30 or 40, this connected approach is the difference between hiring an assistant and just being smarter about your existing workflow. According to Inman, by the end of 2026, 80% of top producers will work entirely within AI-integrated ecosystems. The question isn't whether to automate your workflow. It's whether you're automating it as disconnected pieces or as one cohesive system.
Want to see where your current workflow stands? Take the free Transaction Workflow Grader to get your workflow efficiency score and identify your biggest automation opportunities.
The Bottom Line
Transaction coordinator workflow automation isn't about replacing your judgment or removing yourself from the process. It's about automating the repetitive work across all five phases, contract intake, task management, communication, compliance, and closing coordination, so you can focus on the decisions and relationships that actually require a human. The TCs handling 40+ files aren't working harder. They've built a system where the busywork handles itself, and you can too.
Ready to see it in action? Start your first transaction free and experience how Ava connects all five phases of your workflow.